





As a supplier of plastic enclosures, I often receive inquiries from customers about how to install a fan in a plastic enclosure. Proper fan installation is crucial for maintaining the optimal temperature and ventilation within the enclosure, especially for electronic devices that generate heat. In this blog post, I'll guide you through the step - by - step process of installing a fan in a plastic enclosure, ensuring a safe and efficient setup.
Step 1: Select the Right Enclosure and Fan
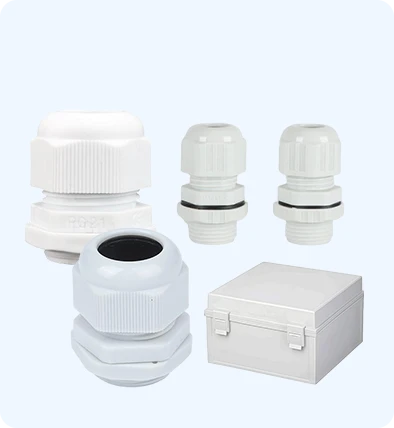
First and foremost, you need to choose the appropriate plastic enclosure for your application. We offer a variety of plastic enclosures, such as the Plastic Waterproof Enclosure 125x125x100 Transparent, Plastic Waterproof Enclosure 170x220x110 Hinged, and Plastic Sealed Box 300x200x140 Flip Cover. Consider the size of the enclosure based on the components you plan to house inside and the space required for the fan.


When it comes to selecting a fan, factors like airflow, noise level, and power consumption are important. Determine the amount of airflow needed to cool your components effectively. You can calculate this by considering the heat output of the devices and the size of the enclosure. Generally, fans with higher CFM (Cubic Feet per Minute) ratings provide better airflow.
Step 2: Prepare the Enclosure
Before installing the fan, you need to prepare the plastic enclosure. Start by cleaning the area where the fan will be installed. Use a mild detergent and a soft cloth to remove any dust, dirt, or debris. This will ensure a good seal and proper adhesion.
Next, mark the location for the fan on the enclosure. The ideal location depends on the layout of the components inside. Typically, it's best to place the fan near the heat - generating components. Make sure to measure and mark the holes for the fan mounting screws accurately. You can use a template if available or simply mark the positions based on the fan's mounting holes.
Step 3: Drill Holes in the Enclosure
Once you've marked the locations, it's time to drill holes in the plastic enclosure. Use a drill bit that is slightly smaller than the diameter of the mounting screws. This will ensure a tight fit. When drilling, go slowly and apply gentle pressure to avoid cracking or damaging the plastic.
After drilling the holes, use a deburring tool to smooth the edges of the holes. This will prevent any sharp edges from cutting the fan's wires or causing injury during installation.
Step 4: Install the Fan
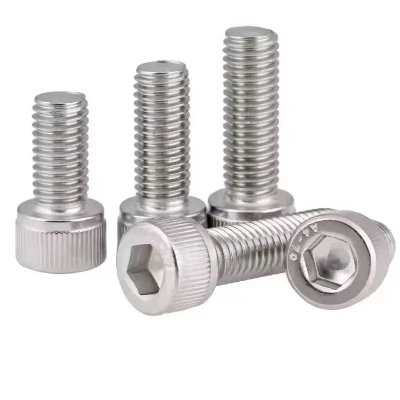
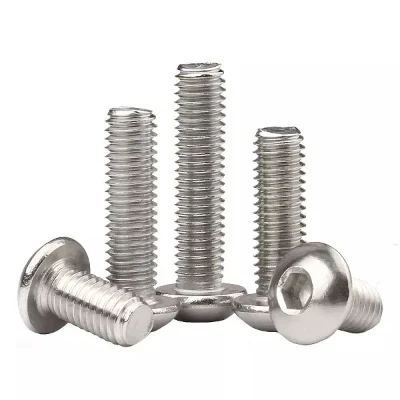
Now, it's time to install the fan. Place the fan against the enclosure at the marked location, aligning the mounting holes. Insert the mounting screws through the fan's holes and into the holes in the enclosure. Use a screwdriver to tighten the screws, but be careful not to overtighten as this could damage the plastic.
If your fan has a rubber or silicone gasket, make sure to install it properly between the fan and the enclosure. This will help to seal the gap and prevent dust and moisture from entering the enclosure.
Step 5: Connect the Fan Wires
After installing the fan, you need to connect the wires. Most fans have two or three wires: a power wire, a ground wire, and sometimes a speed control wire. Refer to the fan's manual for the correct wiring diagram.
If your enclosure has a power supply, you can connect the fan directly to it. Make sure to use appropriate wire connectors and insulate the connections to prevent short - circuits. If you're using a battery - powered system, you'll need to connect the fan to the battery according to the polarity indicated on the fan and the battery.
Step 6: Test the Fan
Once the fan is installed and wired, it's important to test it before closing the enclosure. Power on the system and check if the fan is spinning properly. Listen for any unusual noises or vibrations. If the fan doesn't start or is making strange noises, double - check the wiring and the mounting to ensure everything is correct.
Step 7: Seal the Enclosure
After testing the fan and ensuring it's working properly, it's time to seal the enclosure. If your enclosure has a gasket, make sure it's in good condition and properly seated. Close the enclosure and secure it with the appropriate fasteners, such as screws or latches.
Tips for a Successful Installation
- Ventilation Design: Consider the overall ventilation design of the enclosure. In addition to the fan, you may need to add ventilation holes or grilles to ensure proper air circulation.
- Cable Management: Keep the cables inside the enclosure organized to prevent them from blocking the airflow or getting caught in the fan.
- Safety First: Always follow safety procedures when working with electrical components. Wear appropriate safety gear, such as gloves and safety glasses.
If you have any questions about installing a fan in a plastic enclosure or need help selecting the right enclosure and fan for your project, feel free to reach out to us. We're here to assist you with all your plastic enclosure needs and can provide expert advice to ensure a successful installation.
References
- Manufacturer's manuals for plastic enclosures and fans.
- General guidelines on electronic device cooling and ventilation.